Tutorials
Access pkg.nutjs.dev
How to access private packages on pkg.nutjs.dev.
Purchase a Subscription
If you want to access private packages onpkg.nutjs.dev, you'll need to purchase a subscription.
You can either purchase an all-access subscription, which will give you access to all private packages, or you can purchase a subscription for a single package.
Subscriptions are sold via LemonSqueezy and all your subscription data resides there. nutjs.dev and the private registry will use this data to determine access rights to packages.
Create Your Account
Once you purchased a subscription you'll receive an email invite to create a user account on nutjs.dev. The user account is required to manage access tokens for the private registry.
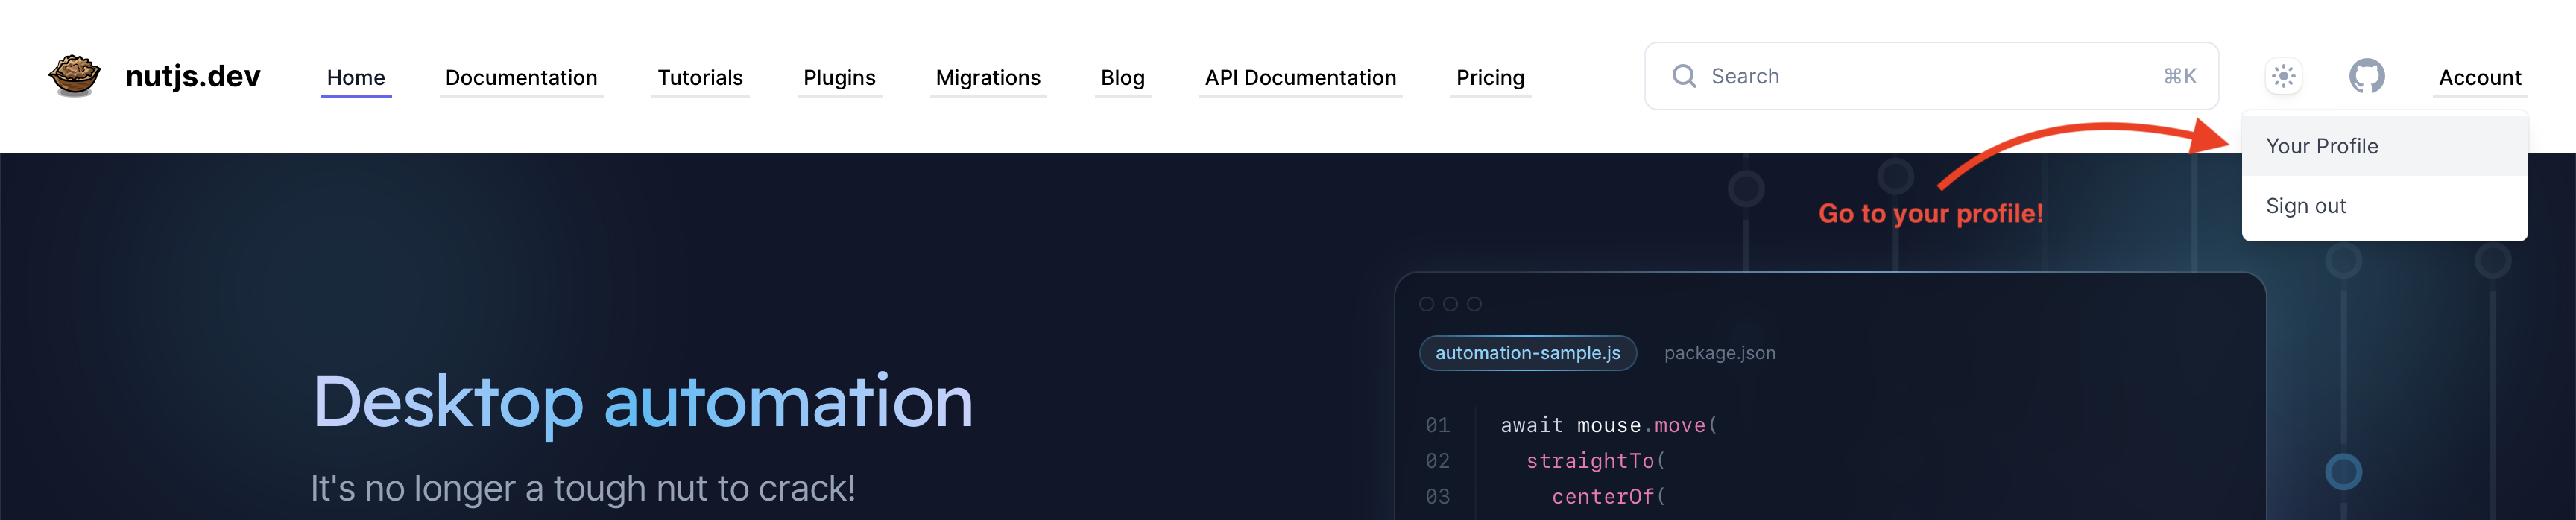
Once you created your account, you'll be able to log in via Magic Link to access your profile.
Manage Subscriptions & Tokens
On your profile page, you'll be able to see your subscriptions and custom licenses.
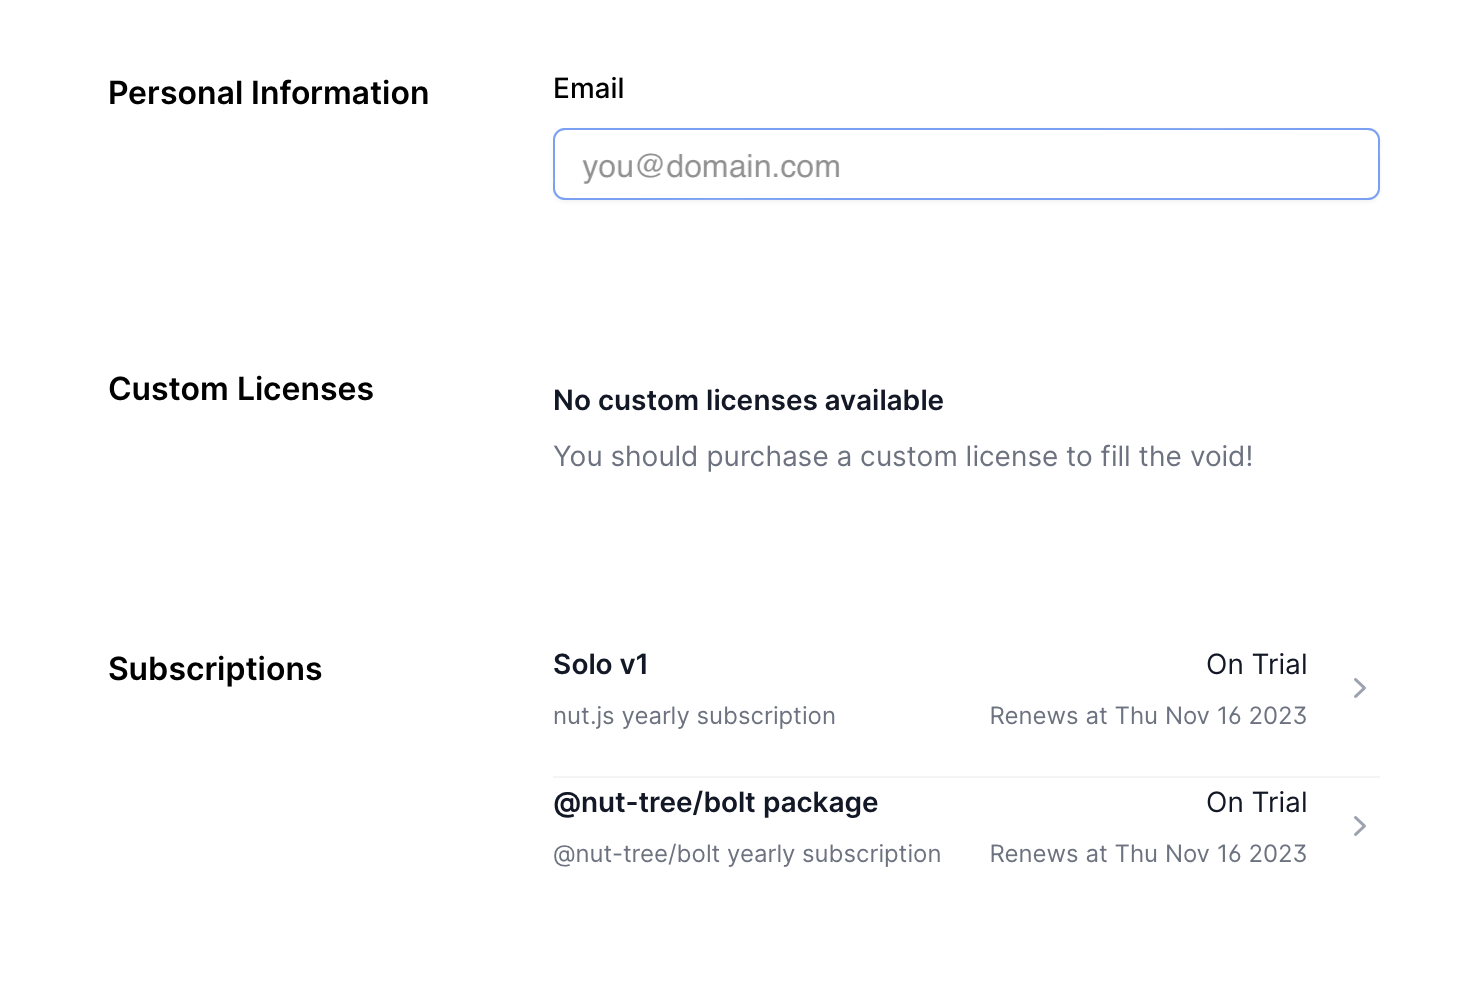
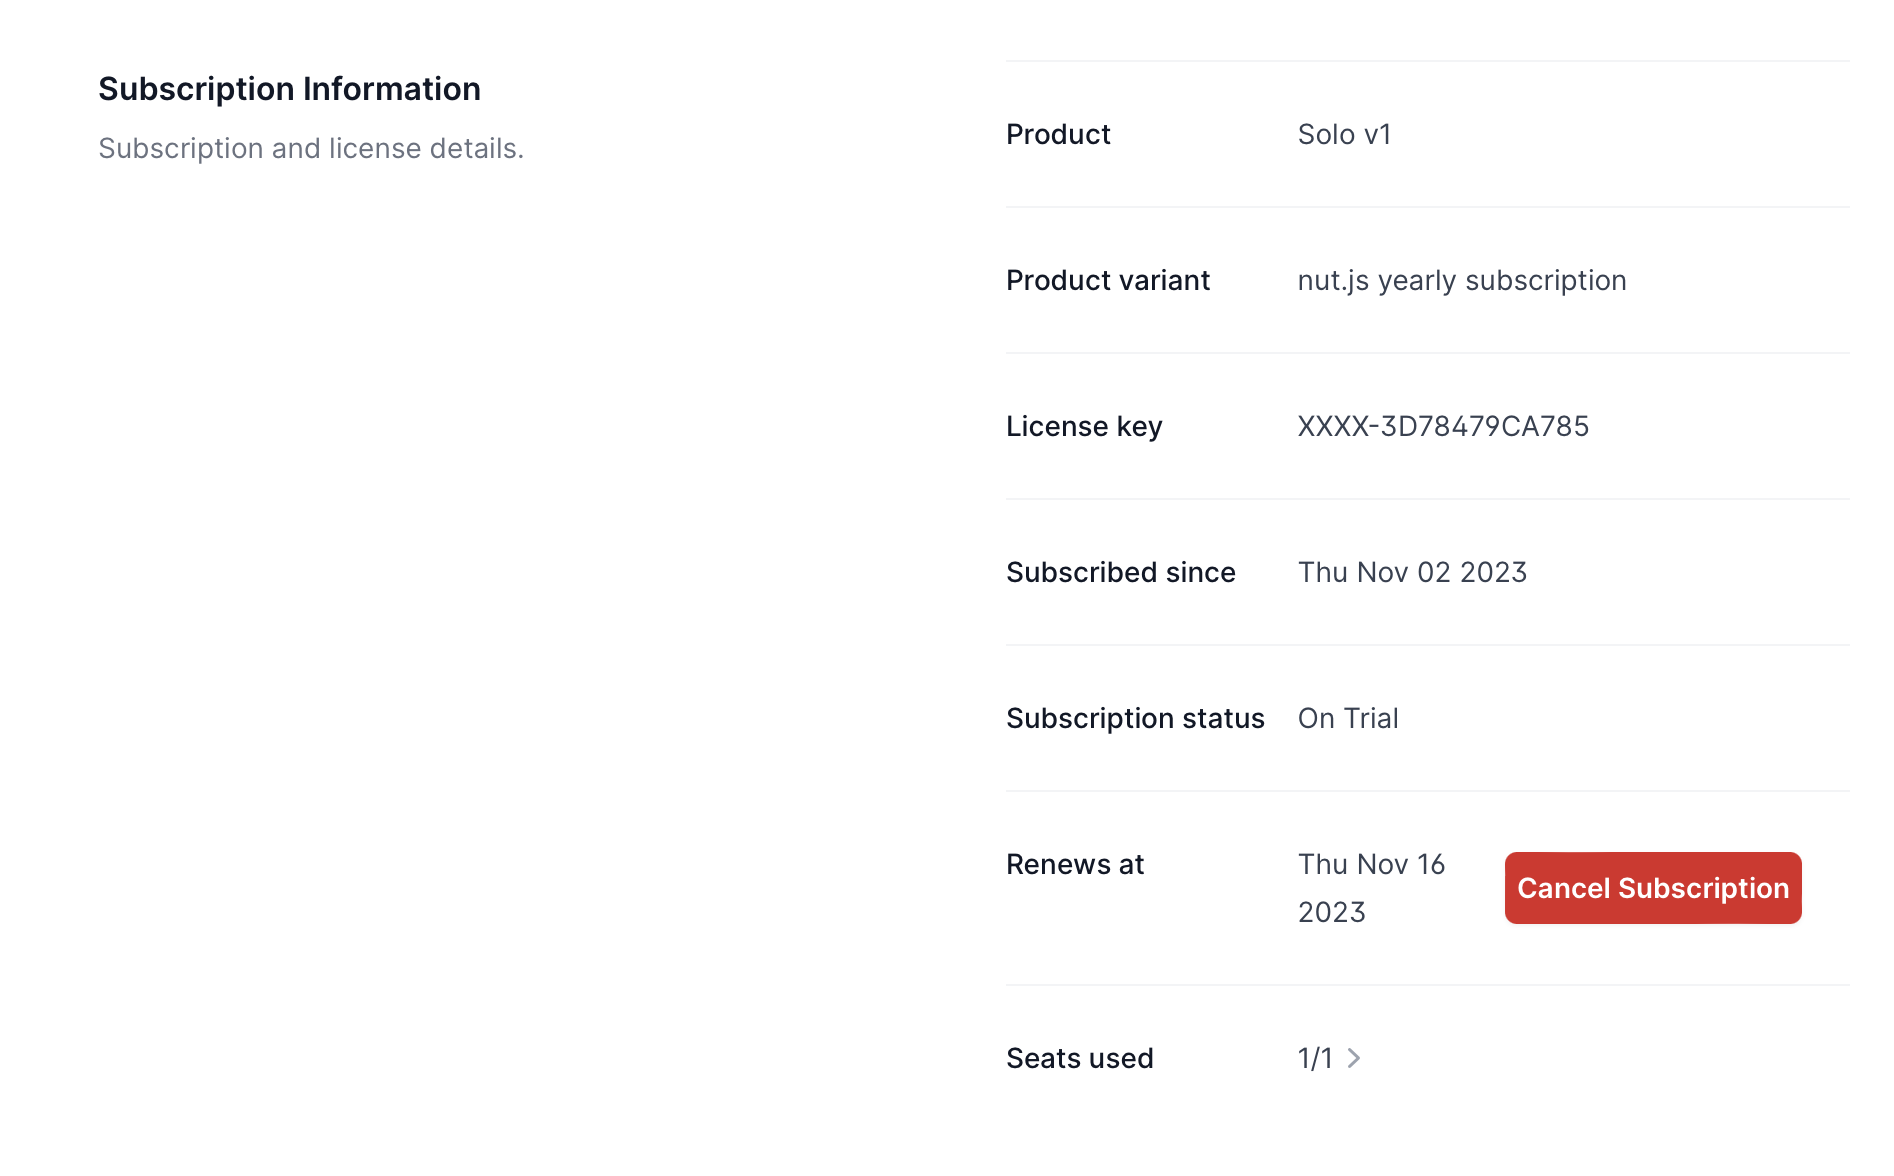
For each subscription you'll get a short summary of the most important information.
Last but not least, you'll be able to manage your access tokens for the private registry.
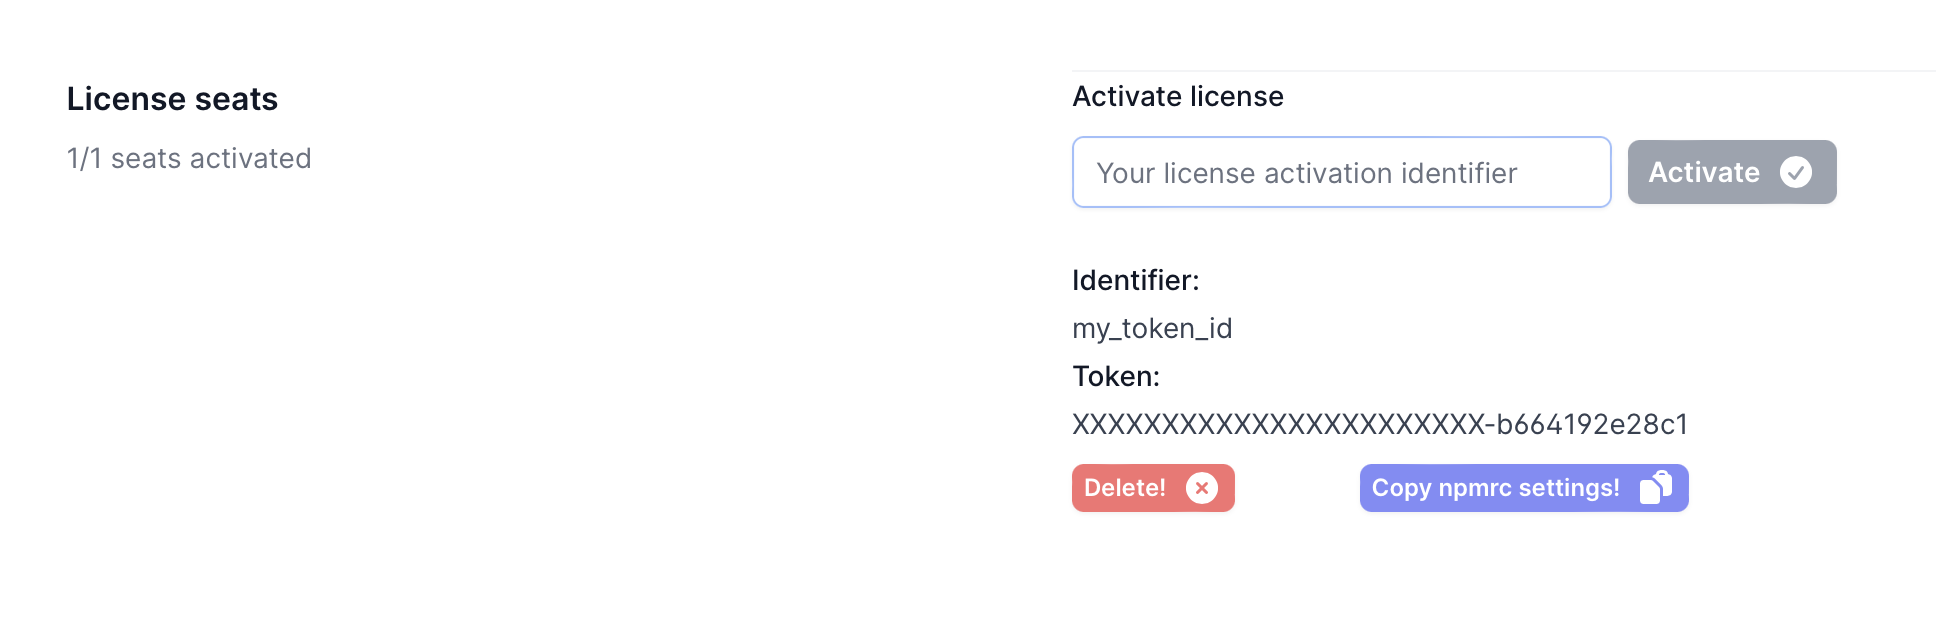
Depending on your plan, you'll be able to activate one or more tokens. Simply enter an id for the token and click the Activate button. You can also revoke them again to e.g. support off-boarding of employees or project members.
Configure your package manager
What's left now is to configure npm to use the private pkg.nutjs.dev registry. You'll need to add scoped auth settings for the @nut-tree organisation to your .npmrc/.yarnrc/ bunfig.toml file.
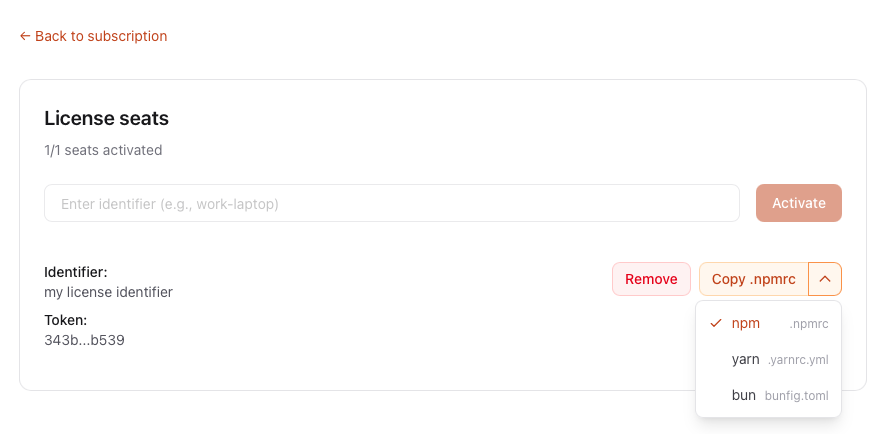
Copy Settings from Your Profile
Copy .npmrc settings button on your profile page will copy the required settings to your clipboard, so you can easily paste them into your .npmrc file. You can copy settings for npm as well as for yarn and bun, depending on which package manager you use. Simply select the package manager you want to configure, and click the button.Your updated .npmrc file should look like this:
//registry.npmjs.org/:_authToken=YOUR_TOKEN_ON_NPMJS_ORG
@nut-tree:registry=https://pkg.nutjs.dev
//pkg.nutjs.dev/:_authToken="YOUR_TOKEN_ON_PKG_NUTJS_DEV"
Verify Your Setup
You can verify your setup by running the following command in your terminal, which should return the id you entered when creating a new token:
npm whoami --registry=https://pkg.nutjs.dev